
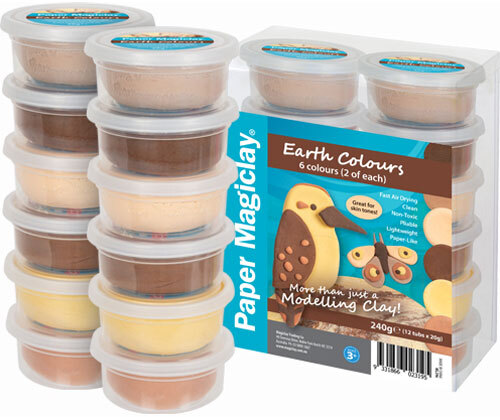


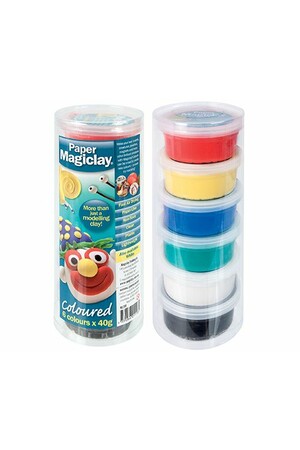
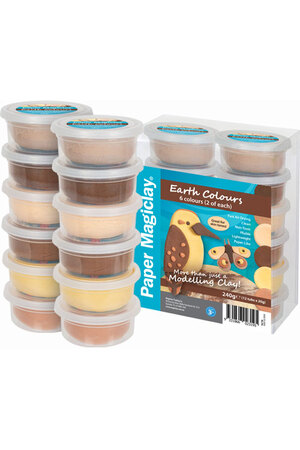
Paper Magiclay - 240g: Earth Colours (Pack of 12)
| Buy in bulk & save! | |
|---|---|
| Buy 1 to 4: | $30.95 each |
| Buy 5 to 9: | $30.20 each |
| Buy 10 or more: | $29.40 each |

Available on orders $80 to $1000
Learn more

Available on orders $80 to $1000
Learn more
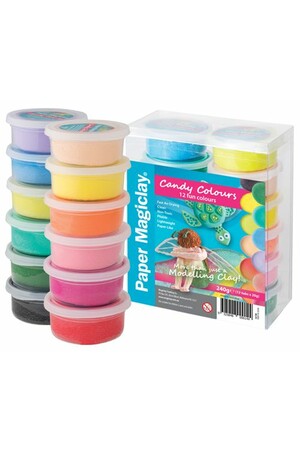
Paper Magiclay in an exciting mix of Candy Colours, is a lightweight, soft and elastic air drying modelling clay.

Part of the series Magiclay & Potato Clay.
View all products in this series
Paper Magiclay Earth Colours is an air drying modelling clay that is lightweight, soft and elastic. This coloured soft paper clay will bond wet to dry, no adhesives or tools are required. Magiclay can be pulled, stretched, rolled and embossed.
Paper Magiclay Earth Colours air dries in hours. Once dry the clay creates a paper-like texture and is extremely light. Wrap unused portions with plastic wrap or put in an airtight container to avoid clay from drying out.
NB: As an airdrying modelling clay, Magiclay has a shelf life of 12 months.
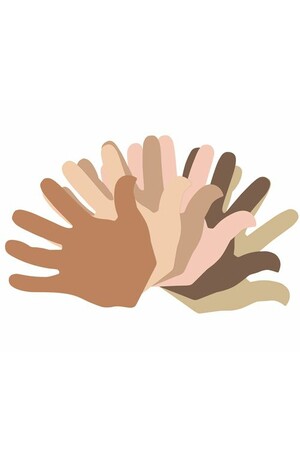
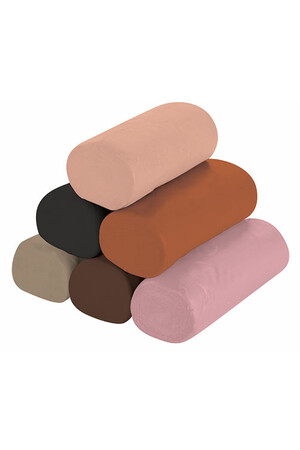
This great selection of earth colours is also suitable for skin tones.
Suitable for all age levels and can be incorporated into any artwork. This earth toned assortment comes in individual canisters to ensure clay can be keep air tight, and to allow for easy distribution around the classroom.
There are 6 Earth Colours in each pack, two 20 gram tubs of each
Important features of Magiclay Earth Colours:
- Magiclay adheres wet to wet, and wet to dry – no adhesives are required. Magiclay can also stick onto paper and canvas to create 3D and textured elements to artwork.
- It can be pulled, stretched, sprung back, rolled, coloured with paint, Food Dye or markers.
- Magiclay comes in a range of colours and mixes using the same colour mixing rules as paint.
- Best used over an armature so that only a very thin layer of the material is required.
- A great material to use after exploring real clay or Clay Dough, to develop skills and create final artwork.
- Magiclay only has half an hour workability before it will start to harden.
- Work on a clean surface and avoid overworking before attaching material to a model.
- Use small amounts of Magiclay at a time and store unused material in a sealed container to prevent premature drying.
- Free from wheat, gluten and wheat derived products
Tips when using Magiclay:
Colouring Magiclay (Wet clay): Easily colour white Magiclay with paint, dye and markers. Just add a small amount of pigment and mix through prior to modelling.
Colouring (Dry) Once Magiclay is dry, its surface can be painted or printed on.
Blending & Marbling Colours: Mix colours together to expand your colour palette. Add white to lighten and brighten colours. For marbled effects, lightly mix colours.
Model Making: Paper Magiclay will bond wet to dry – just press on a surface, or press parts together and it will hold; no adhesives, joining techniques or special tools are required. It can be pulled, stretched, sprung back, rolled, and can be used in combination with other materials. This is why it is ideal clay for model making and popular with all age levels.
Building Up Surface: Press Magiclay directly onto canvas or paper to build up a surface on which to paint.
Creating Forms: Create an armature as a base & mould Magiclay over the top. Magiclay can be smoothed out and finer details can be added.
Use as a canvas: Emboss and imprint designs and patterns into the surface. When dry, Magiclay can be stitched into. Shaping & Finishing a Form Magiclay can be applied to an object to create a unique form. Once sealed, alternate between sanding and painting to build up a polished and smooth surface. Varnish to finish.
Modelling Techniques and Skills Using Magiclay Candy Colours:
Start by taking a golf ball size piece of Magiclay:
Hands as Tools: with different parts of the hands, try squeezing, twisting, rolling, pinching, tearing/pulling, pressing to make different shapes; try joining and smoothing a surface. Use these techniques and skills to make different parts of one or two of the subjects in Step 1.
Using Tool Set: create different lines, textures and patterns. Explore how these could be used on different parts of a particular subject e.g. the indentations created with the blade looking part of the tool could look like the veins on a butterfly wing, or the cup marks could add texture to clothes.
Using Other Tools: try cutting, trimming and fringing with a pair of scissors. Find items that could be used as tools e.g. a fork could create repetitive indentations.
| SKU | ML296 |
| ISBN | 9331866023195 |
| Publisher | The Creative School Supply Company |
| Product Type | Art & Craft Supplies, |
Be The First To Review This Product!
Help other Teacher Superstore users shop smarter by writing reviews for products you have purchased.


